
How to Add Your Business to Apple Maps: A Step-by-Step Guide
If you want your business to be found by over a billion Apple users, getting listed on Apple Maps is essential. With Apple Maps integrated into iPhones, Siri, and other Apple services, your business can reach more customers than ever before. Here’s a simple, actionable guide to help you get your business listed on Apple Maps using Apple Business Connect.
Why List Your Business on Apple Maps?
Apple Maps is now a major player in local search, with over a billion users worldwide. By listing your business, you’ll:
Appear in Apple Maps searches and recommendations
Let customers find you through Siri voice search
Share special offers and announcements directly to iPhone users
Access insights on how customers interact with your listing
Step 1: Create Your Apple Business ID
Start by creating an Apple ID dedicated to your business. Visit appleid.apple.com and click “Create Your Apple ID.” Use a reliable email address and phone number you’ll always have access to, set a strong password, and select your region. This Apple ID will be your gateway to managing your business on Apple’s platforms.
Step 2: Register Your Business on Apple Business Connect

Go to Apple Business Connect and sign in with your new Apple ID. You’ll be prompted to choose your business type:
Small Business: For businesses with 1–24 locations.
Enterprise: For brands with 25+ locations (not franchises).
Third Party: For agencies or administrators managing multiple brands or locations.
For Small Businesses:
Search for your business in Apple Maps. If it’s not listed, select “Create New Location” and enter your address and details. If it’s already listed, claim it to manage and update the information.
For Enterprises:
Prepare your legal business name, corporate address, office phone number, website, and your 9-digit D-U-N-S number (ask your finance department if you don’t have it).
For Third Parties:
You’ll need a verified Apple Business Connect account, your company’s legal details, and D-U-N-S number. Once verified, you can invite others to help manage listings.
Step 3: Verify Your Business
Apple requires verification before your business goes live.
Phone Verification: The fastest method—Apple will call the number you provided.
Document Upload: If phone verification isn’t possible, upload a business license, utility bill, lease, or insurance policy showing your business name and address.
Domain Verification: For online businesses, you can verify by adding a TXT record to your website’s domain. You’ll have 14 days to complete this step after starting verification.
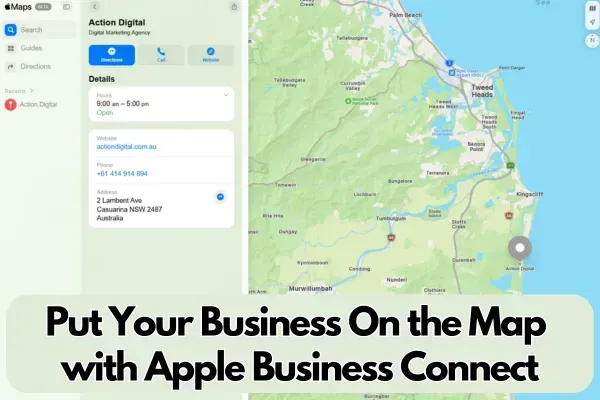
Step 4: Enhance Your Apple Maps Listing

Once verified, you can add more details to your Apple Maps “Place Card,” such as:
A compelling business description
Payment options, parking info, and amenities
Links to booking or reservation apps
High-quality photos
“Showcases”—30-day updates to promote new products, features, or special offers
Bonus: Check Your Visibility Across Town
Did you know your business might show up differently in search results depending on where someone is searching from? Tools like a “geo grid” report can show how your business ranks in different parts of your city compared to competitors. This insight can help you optimize your local presence even further.
Ready to get started?
Listing your business on Apple Maps is one of the easiest ways to reach more customers and grow your brand’s visibility. If you need help or want a free geo grid report to see how your business appears across your area, contact us today!
